Convert M2TS to iDVD videos on mac.
Step by step burn m2ts files to home dvds on Mac
For Mac user, iDVD is the best DVD creation freeware to add Quicktime movies, mp3 audio and digital photos to a home DVD for playing on DVD player. AVCHD camcorder like Canon, Sony, Panasonic etc is widely welcomed for their hd quality, but these files in m2ts formats are not be compatible with iDVD.
This article will show you how to burn m2ts files with iDVD on Mac.
Secure Download
Secure Download
Part one: Import m2ts files to iDVD using m2ts to iDVD converter for Mac.
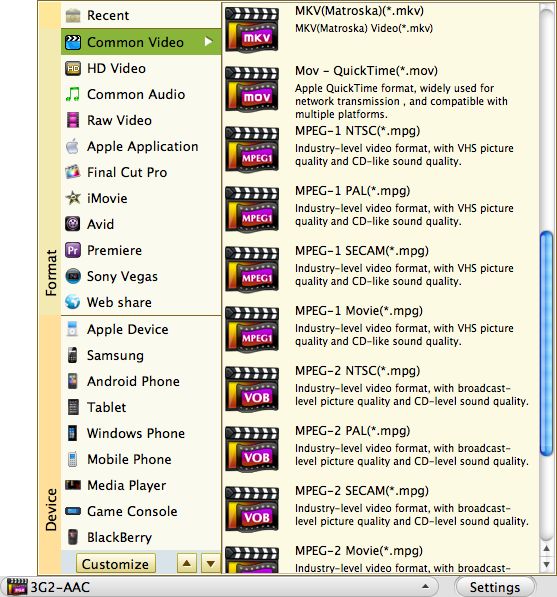
iDVD likes mov, mp4, avi, dv, mpg etc, m2ts to iDVD converter for Mac supports convert m2ts to (hd) mov, m2ts to (hd) mp4, m2ts to (hd) avi, m2ts to (hd) mpeg-2, m2ts to dv, m2ts to h.264, m2ts to mpeg-4, import m2ts to iDVD on Mac by just three steps.
Three steps convert and import m2ts to iDVD formats:
Step1: Download m2ts to iDVD converter for Mac on your PC.

Step2: Click "Add files" to add m2ts files, batch convert support, click"Profiles drop-down list" to set output as mov, mp4, avi or dv etc, click "Browse" to save it.

Step3: Click "Convert ", whole progress will complete automatically with best output quality and fast speed. Then import m2ts to iDVD directly.

Step optional: Before Convert, you can edit your m2ts files
Click"Edit", then click "Crop", set aspect ratio(16:9, 4:3, full windscreen); click "Effect", adjust brightness, contrast and saturation, also some special effect.

Click "Trim", Set starting time and ending time

Click "Setting", adjust Resolution, Bit Rate, Frame Rate and Encoder

Part two: Step by step on burning ripe m2ts video, Quicktime movie or itunes audio to DVDs on Mac.
1: Open iDVD
2: Click "Create New Project", built a new project, name it, then save it, choose aspect ratio (16:9/4:3)
3: a: if you do not want a menu, just click View→Show Map, arrange video clip before menu, click Advanced→Loop b: if you need, select a DVD menu theme , just click the drop-down list to set one, each template comes with an entry theme and other screens with accompanying chapters.
4: Drag the video and audio clip into the movie drop zone of the selected template
5: click "Burn" to burn dvds on Mac.
Warning: 1: leave iMovie open, but never change it. 2: not to click Slideshow which has already created in iMovie. 3:Personalize your DVD menu as soon as you send your file from iMovie to iDVD.

Related Articles
Hot Article
- Easy import AVI to iMovie ‘08/’09/’11
- Import MTS files to iMovie 08, 09, 11
- Edit Canon C500 MXF footage in Final Cut Pro
- Import MTS to Final Cut Pro on OS X Mountain Lion
- How to Open MKV in Sony Vegas
- Convert Youtube FLV into Sony Vegas
- AVCHD to Windows Movie Maker
- Convert/import MOV file to WMM
- Convert AVCHD to to iDVD for burning
- FLV to PPT converter


