

Since AVCHD (MTS/M2TS) format is widely used nowadays, many editing software like Windows Movie Maker, Sony Vegas, Adobe Premiere, Pinnacle Studio, Lightworks, etc supports AVHCD (MTS/M2TS) footage now. So, it is not so difficult to edit AVCHD videos as before on Windows platform (Windows 8/7/XP/Vista).
However, sometimes you'll be rejected to import and edit AVCHD (MTS/M2TS) videos in the editing software that claims to support the footage. That's because there are so many limits you are facing like the system requirements, video frame rate, audio properties, and more. If the AVCHD (MTS/M2TS) video doesn't meet the specific limitation for your existing video editing software, you'll fail to add AVCHD (.mts/.m2ts) files for further editing.
If you encounter failure importing and editing your AVCHD (MTS/M2TS) videos, what shall you do next? To purchase another video editing program that states support of AVCHD (MTS/M2TS) but potentially fails? In fact there is a better option. You can convert AVCHD to a format that compatible with your Movie Maker, Vegas, Premiere, Pinnalce, or Lightworks, etc with a professional video converter. iOrgSoft AVCHD Video Converter (AVCHD Converter for Mac) is a great one.
iOrgSoft AVCHD Video Converter is capable of converting AVCHD (MTS/M2TS) from Panasonic, Sony, Canon, etc camcorders to MP4, MOV, AVI, WMV, FLV, 3GP, etc. It offers optimized output formats especially for popular applications like Sony Vegas, Premier, Movie Maker, etc, and even for common devices like Apple devices (iPad, iPhone, iPod, Apple TV), Samsung, Tablet, Windows Phones, etc as well as for web sharing. So, you'll be able to use your AVCHD (MTS/M2TS) freely on various apps and devices for different use.
Besides, the program also has simple and basic video edidting tools like cropping, trimming, splitting, adding watermark, special effect, and more.
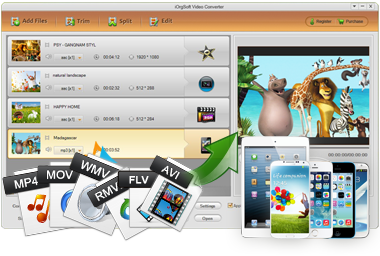
iOrgSoft AVCHD Video Converter let you convert AVCHD (MTS/M2TS) as well as other camcorder footages like XAVC, MOD, TOD, MXF, etc to another more convenient video format like MP4, MOV, AVI, WMV, FLV, 3GP, etc for use in editing software like Windows Movie Maker, Sony Vegas, Adobe Premiere, etc as well as other portable devices.
Secure Download
Secure Download
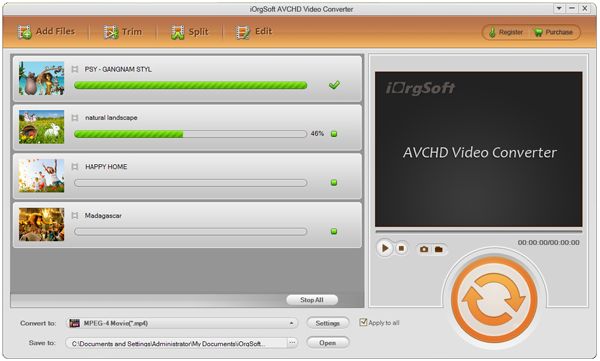
Transfer AVCHD videos from camcorders to your computer. Make sure that your camcorder is correctly connected with your PC. Add AVCHD files to the AVCHD Converter by clicking the "Add Files" button. Alternatively, you can directly drag and drop wanted AVCHD files to the program.
Please note that you can import a bunch of AVCHD files to the program since the program is capable of dealing with batch conversion. If needed, you can join all the imported files together by checking the "Merge" box.
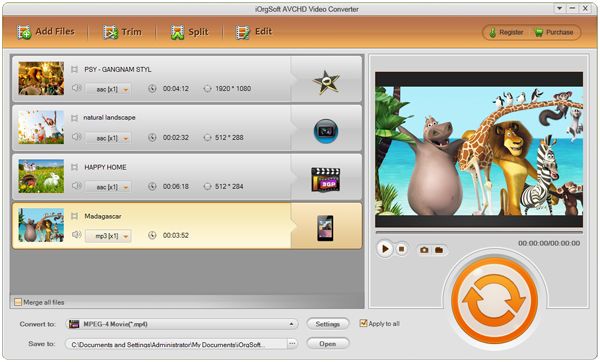
Next step is to select the proper output format. There are two ways to open output format list:
1. Click the format icon next to the imported AVCHD file thumbnail
2. Click the "Profile" pull-up menu
Please note that if you have imported several files at one time, you can check the "Apply to all" box. By doing so, you can easily apply the same output format for all added files instead of selecting output format for each imported file individually.
The output formats have been categorized by the names of popular devices and applications name. You can directly find the wanted output format according to the name of your applications or devices. For example, you are going to edit AVCHD videos on Sony Vegas, so, you can choose the output format from "Sony Vegas" column directly instead of from the "Common Video" column.
After that, you can move to the "Settings" button to alter the default output settings.
Optionally, you can change the output path from "Save to" below "Profile". Please ensure there is enough space on the location you've chosen to save your converted files.
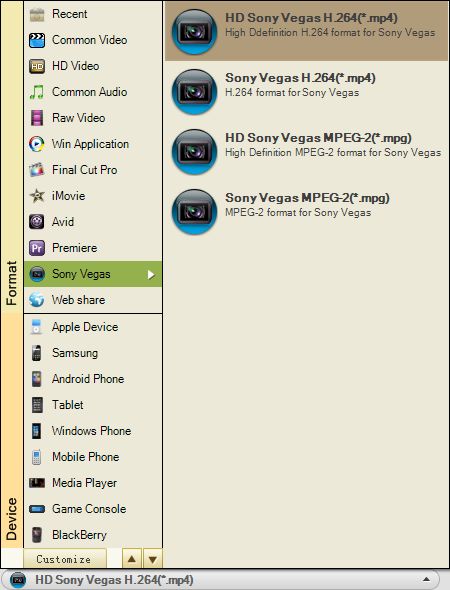
If you just want to do some simple editing work on your AVCHD files, you can complete editing on the program since it offers some basic video editing tools.
Trim: Click the "Trim" button to enter the "Trim" tab where you can extract wanted parts off the video. To trim video, you can set start and end time on the "Start Time" and "End Time" section. Or, you can play the video and then drag the triangle sliders on the time shaft to determine time duration. Optionally, you can use the Brackets to help you. More trimmed segments can be added to the trimming list. You can join all trimmed segments checking the "Merge" box.
Split: Click the "Split" button to enter the "Split" tab. There, you can split the video into small pieces. You can either split by duration or by how many clips you want to get finally.
Edit: Click the "Edit" button to enter the "Edit" tab where you can get more editing tools. You can crop the video to get rid of the outer parts of the video, to choose aspect ratio (keep original, 4:3, or 16:9), to add native image or type text as watermark, to adjust video brightness, contrast, or saturation, to apply artistic film effect, to convert 2D videos to 3D by adding 3D effect, and to add video and audio fade-in or fade-out effect.
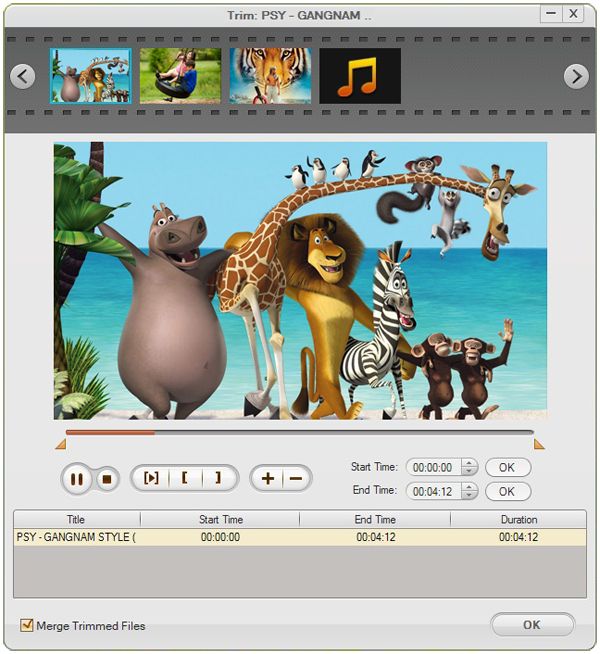
When you are ready, just click the conversion icon button to start the FLV conversion. During the process, you can cancel the conversion if it requires. Depending on the file size, the process may take a few minutes or longer.
Secure Download
Secure Download


Terms & Conditions| Privacy| Sitemap| Contact Us| About Us| Affiliate| Newsletter| License Agreement| Uninstall
Browser compatibility : IE/Firefox/Chrome/Opera/Safari/Maxthon/Netscape
Copyright © 2007-2016 iOrgsoft Studio All Rights Reserved